
Note : This is a work in progress. Currently, there are plans
for adding more comprehensive cast iron Dutch oven
seasoning information, but it is not here yet.
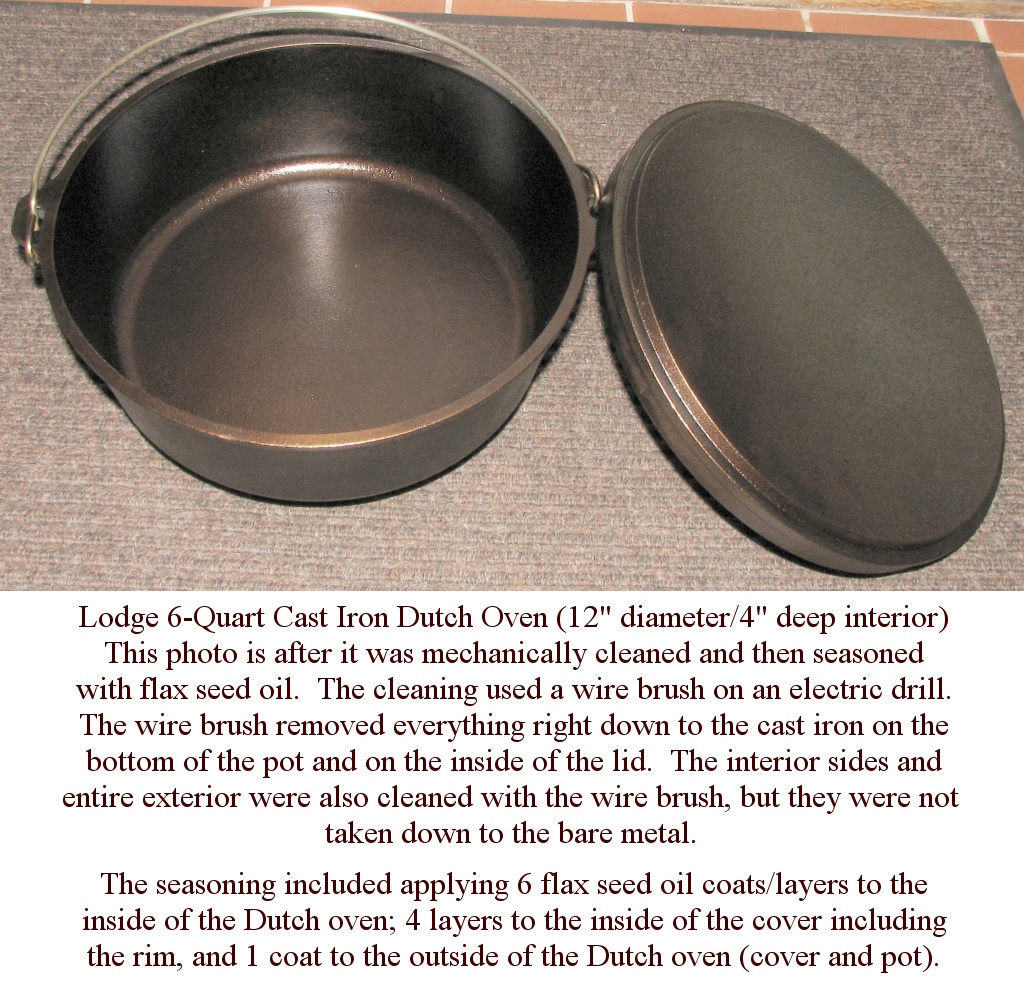
Cast-Iron Seasoning with Flax Seed Oil
"The seasoning on cast iron is formed by fat polymerization, fat polymerization is maximized with a drying oil, and flaxseed oil is the only drying oil that’s edible."
I suggest browsing at least the first 2 of the following blogs below that cover the seasoning process.
Sheryl Canter : Cast Iron Cookware Stripping “Recipe
NOTE : Just pay attention to the section covering stripping the crud from the pan. She later describes the seasoning process in a different blog posting. (See next entry)
http://sherylcanter.com/wordpress/2010/01/perfect-popovers-and-how-to-clean-reseason-cast-iron/
Sheryl Canter : Chemistry of Cast Iron Seasoning: A Science-Based How-To
http://sherylcanter.com/wordpress/2010/01/a-science-based-technique-for-seasoning-cast-iron/
Best Way to Season Cast Iron Pans - Flax Seed Oil
http://www.instructables.com/id/Best-Way-to-Season-Cast-Iron-Pans-Flax-Seed-Oil/?ALLSTEPS
Almost No-Knead, Dutch Oven Bread
from The Cook’s Illustrated Cookbook (1st Edition pg 593)
NOTE : Start the bread up to 15½ - 21½ hours before you want to pull it out of the oven :
1st rise : 8-18 hours, knead 10-15 times, 2nd rise : 2 hours appx., and bake appx. 60 minutes
An Important Note on Accurate Measurements
Variations in measurement can have a significant effect on baked goods.
It is better to weigh flour than simply using a measuring cup.
1 Cup Weight (Oz.)
White Bread Flour 5½
Whole Wheat Flour 5½
All-Purpose Flour 5
Cake Flour 4
Whole Wheat and White Flour Combination
(All recipe ingredients were increased by 33%.)
3 cups (16½ oz) White Bread Flour
1 cup ( 5½ oz) Whole Wheat Bread Flour
2 tsp Salt
1/3 tsp Active Dry Yeast (¼ tsp + half a ¼ tsp = .375 tsp or .045 tsp more than 1/3 tsp.)
2½ Tbsp Honey
1 cup + 2½ Tbsp Water at room temperature (100°)
½ cup mild-flavored Lager (100°)
1 1/3 Tbsp Distilled White Vinegar
Flour, bran or corn meal for dusting. (Use small strainer with fine mesh for even application.)
Directions
1st Segment
_ Whisk (or thoroughly stir) flour, salt and yeast together in a large bowl.
_ Mix honey into water.
_ Pour honeyed water, lager, and white vinegar into the large bowl with the flour, salt, and yeast.
If you plan to re-seal the lager; use a bottle with a twist-off cap and twist it off and back on.
_ Use a rubber spatula to fold mixture until an evenly moist ball forms.
As you fold, scrape up the dry flour from the bottom. (Appx 20 folds...?)
_ Cover bowl with plastic wrap and let it sit at room temperature for 8 to 14 hours.
The dough is ready when its surface is dotted with bubbles.
2nd Segment
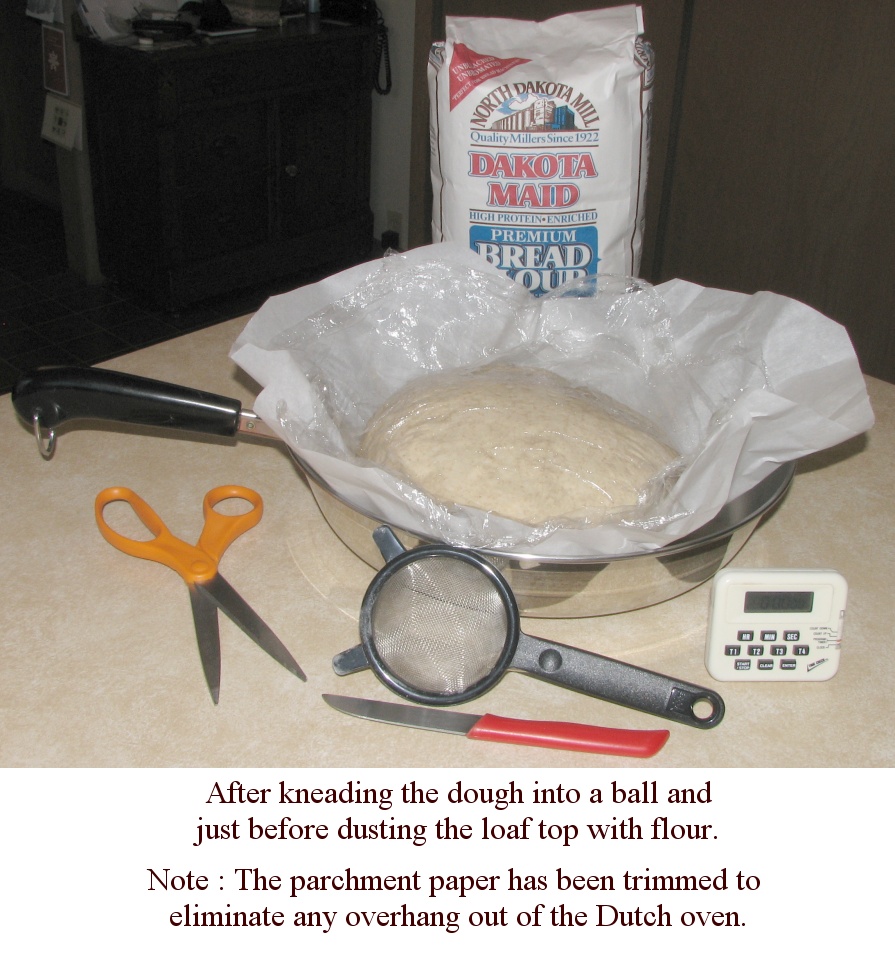
_ Lay 18” x 12” sheet of parchment paper inside a 10” skillet; trim corners, and lightly dust with flour.
(Reynolds Genuine Parchment Paper - “Withstands temperatures up to 420°F.”)
Without this paper, the Dutch oven cleanup is very minimal. With it – there’s nothing to clean up.
_ Transfer dough to lightly floured counter and knead by hand 10-15 times.
(Use small strainer with a fine mesh screen to evenly distribute light amount of flour on counter.)
_ Shape dough into ball by pulling edges into middle. Seal bottom seams with pinching.
Use just enough flour to keep the dough from sticking to the work surface or to your fingers.
_ Transfer loaf seam side down to the prepared skillet and lightly dust with flour, wheat bran or cornmeal.
_ Cover loosely with plastic wrap and let rise at room temperature until doubled in size – appx. 2 hrs.
(Dough should barely spring back when poked with knuckle.) Begin third segment in appx 1½ hrs.
3rd Segment
_ 30 minutes before baking :
- Adjust oven rack to lowest position and, if necessary, remove other racks.
- Place 6-quart (or more) cast iron Dutch oven with lid ajar on rack. May use cookie sheet for base...
- Heat oven to 500°F.
- Wait 30 minutes.
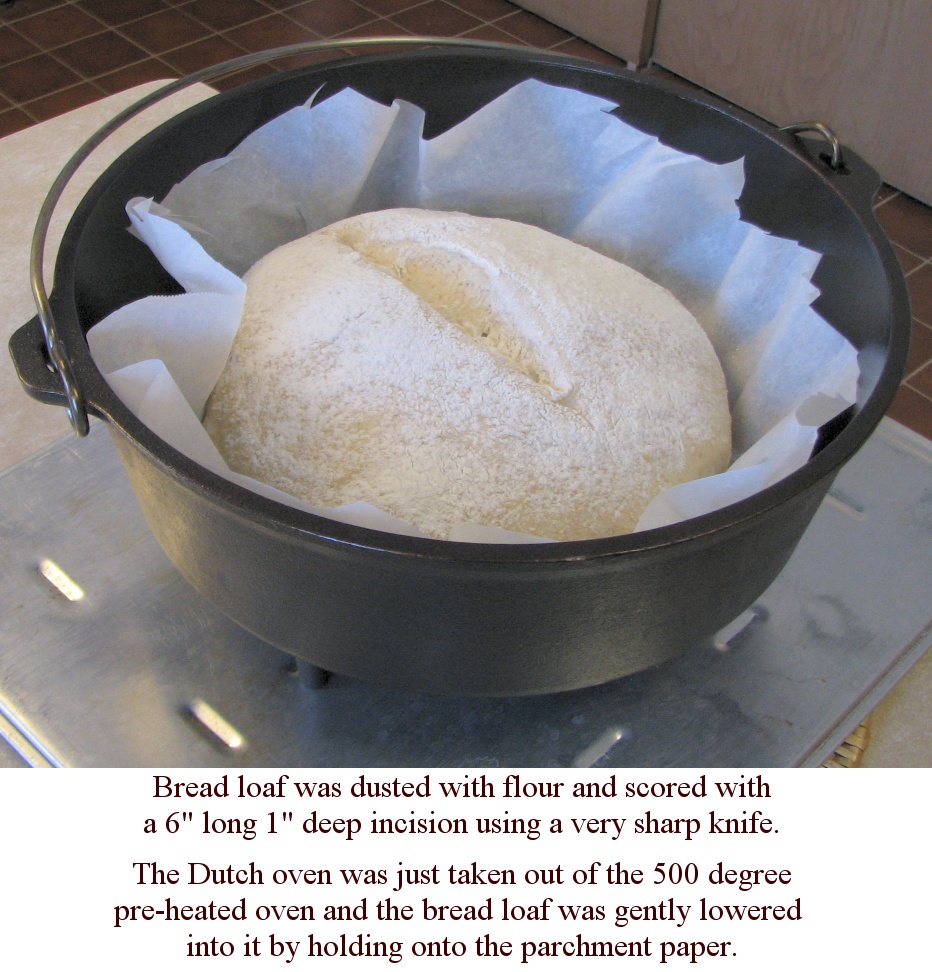
_ Lightly flour, bran, or corn meal top of dough. (Use small strainer with a fine mesh screen.)
_ Use sharp serrated knife or single-edge razor blade to make one 6” long ¾” deep slash on dough top.
_ Carefully remove Dutch oven lid and pot from oven and place them on heat-resistant surface.
_ Lift loaf from fry pan by lifting parchment paper and gently lower into pot.
_ Use all METAL scissors to cut away any excess parchment paper that interferes with the cover seal.
- You could let any excess parchment paper hang over pot edge, but it is critical to the baking
process to ensure the lid will still be able to seal well (to encapsulate moisture while baking).
_ Cover pot and place in oven. Close the oven door. ;-)
_ Reduce oven temperature to 425°F and bake covered for 30 minutes.
NOTE : This baking temperature is 5°F higher than the parchment paper’s heat resistance.....
_ Remove lid and continue to bake until crust is deep golden brown (not light brown) and
loaf registers 210°F – which should be appx. 25-30 minutes longer. Could lower temperature 5°F.

_ Carefully remove pot from oven and remove loaf from pot.
_ Transfer loaf to wire cooling rack. (Discard parchment paper.)
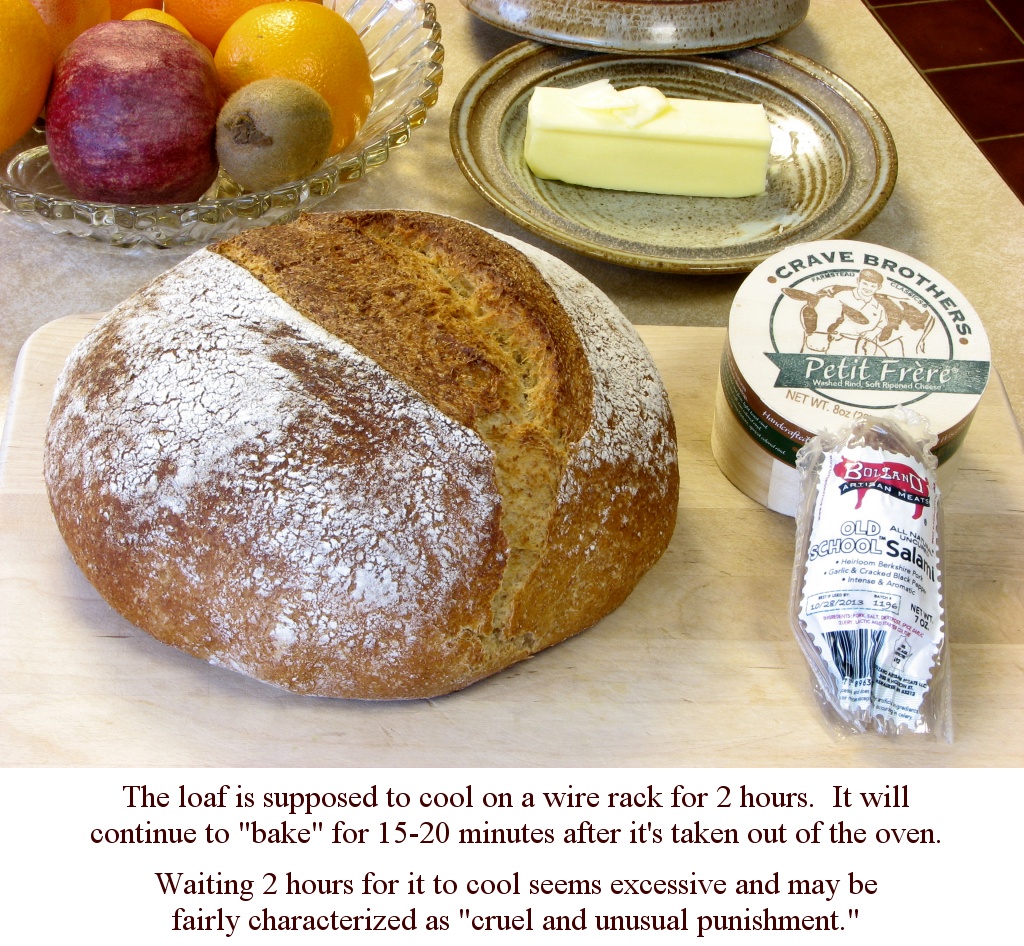
_ Let bread cool to room temperature before slicing – appx. 2 hours.
Regretfully, I must note the bread will initially continue to bake for appx. 20 minutes after removing it from the oven. That’s not to say you shouldn’t immediately slice, butter, and serve the bread, but it will lose some structure if the “baking” is prematurely cooled by the slicing.
_ After it cools, use a plastic-bristled brush to remove any excess loosely adhered surface flour.
Bread is best eaten on the day it is baked, but it will keep wrapped in a double layer of plastic (or big freezer bag) and stored at room temperature for up to 2 days. Over time, the crust will soak up moisture. To re-crisp the crust, stand unwrapped bread on its open face on a flat cookie sheet in a 450°F oven for 6-8 minutes.
Immediately slice, butter, and enjoy. Yum! Yum!